Hydrangea Wreath How To!
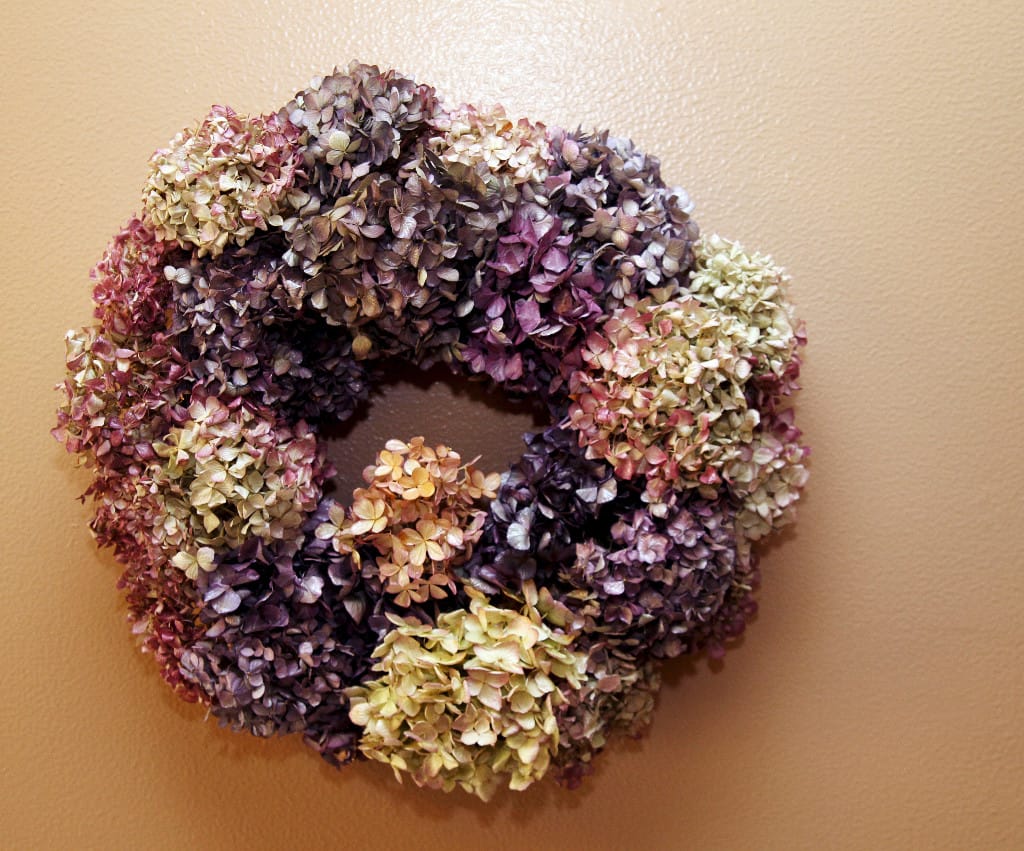
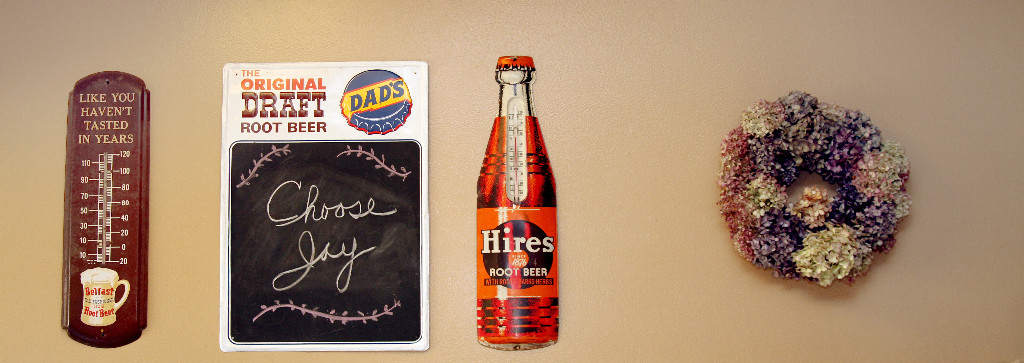
With an empty spot on the kitchen wall and a huge collection of dried hydrangeas hanging all over the place a hydrangea wreath seemed just the thing. It’s easy to do and adds a natural and homey touch to your wall…or wherever you decide to hang it!
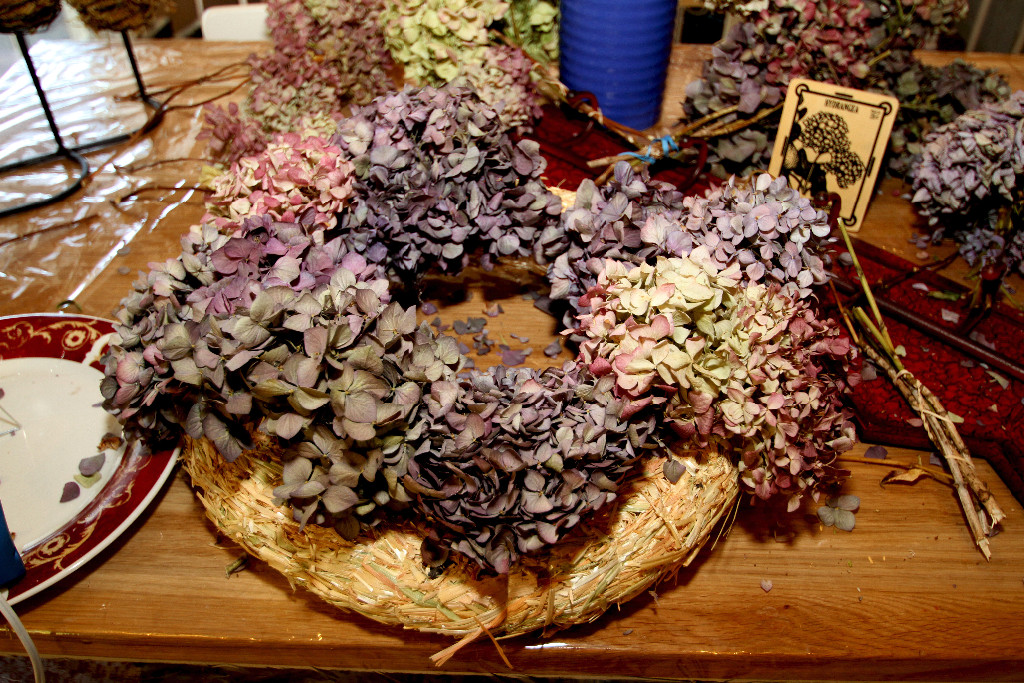
Begin by gathering your supplies. I used a 14″ straw wreath (remove the plastic wrap), a glue gun and lots of glue sticks, at least 20 dried hydrangea blossoms, and a paper clip bent into a nice tidy hanger when looped through the nylon string that holds the straw wreath together in back of your design.
I always cover my work surface with a large piece of poly vinyl purchased at Beverly’s crafts…keeps your table top safe from the mess. (Beware, hot glue drips didn’t melt the vinyl but I couldn’t pop them off like I thought!)
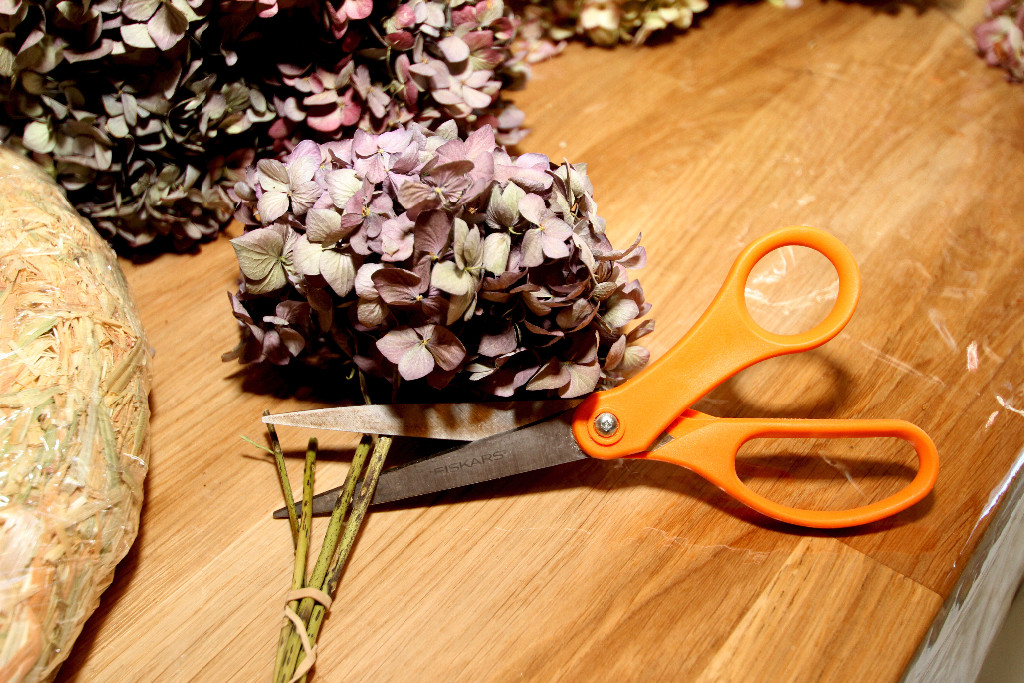
Begin by clipping off the stems close to the flower head: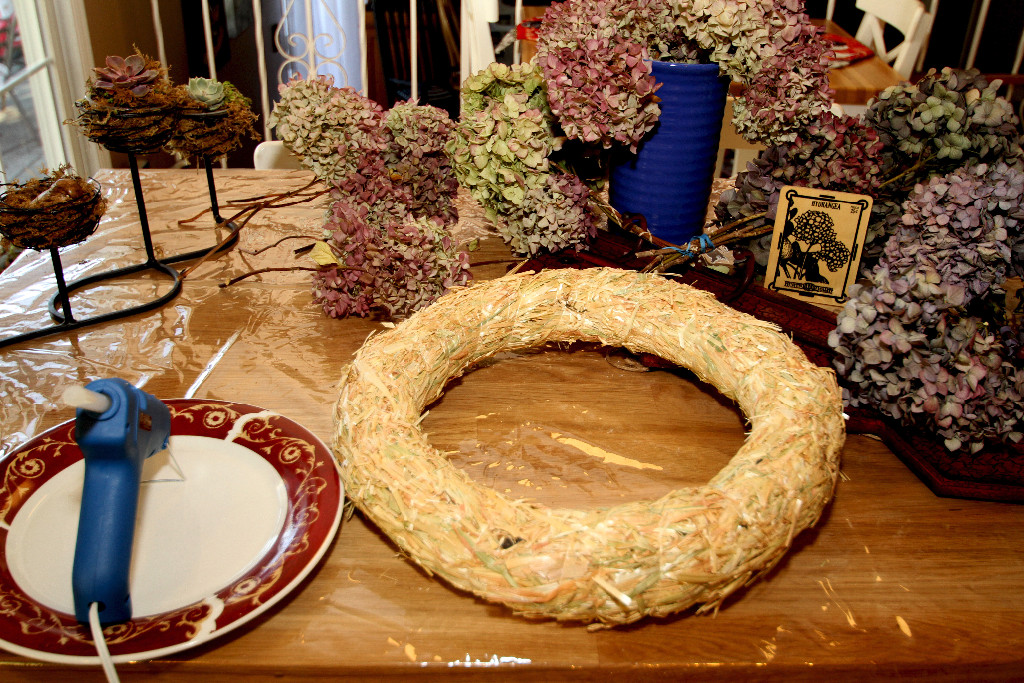
Next apply glue to the wreath and gently place the blossoms where you want them. I started at the top, then the sides and then the bottom. I wanted to keep the colors evenly spaced.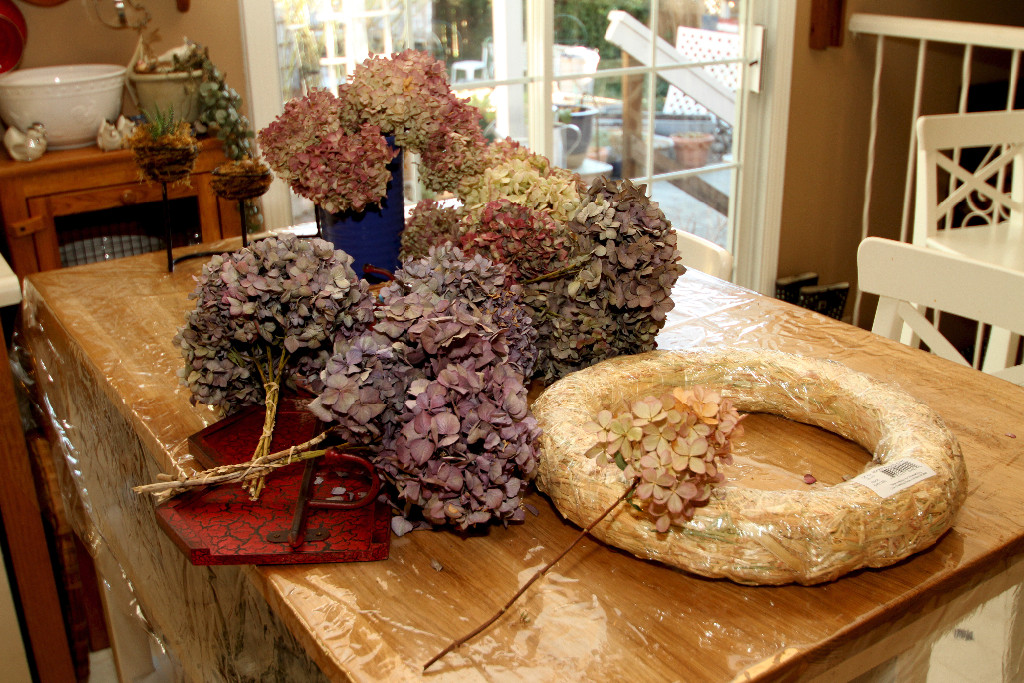
As you work around the wreath, covering the top and sides you’ll need to gently hold the flowers in place while the glue sets. Once you have all the flowers on the wreath you can spray it with hair spray like some people do, or you can use a spray gloss finish which I find holds the flowers together a little better.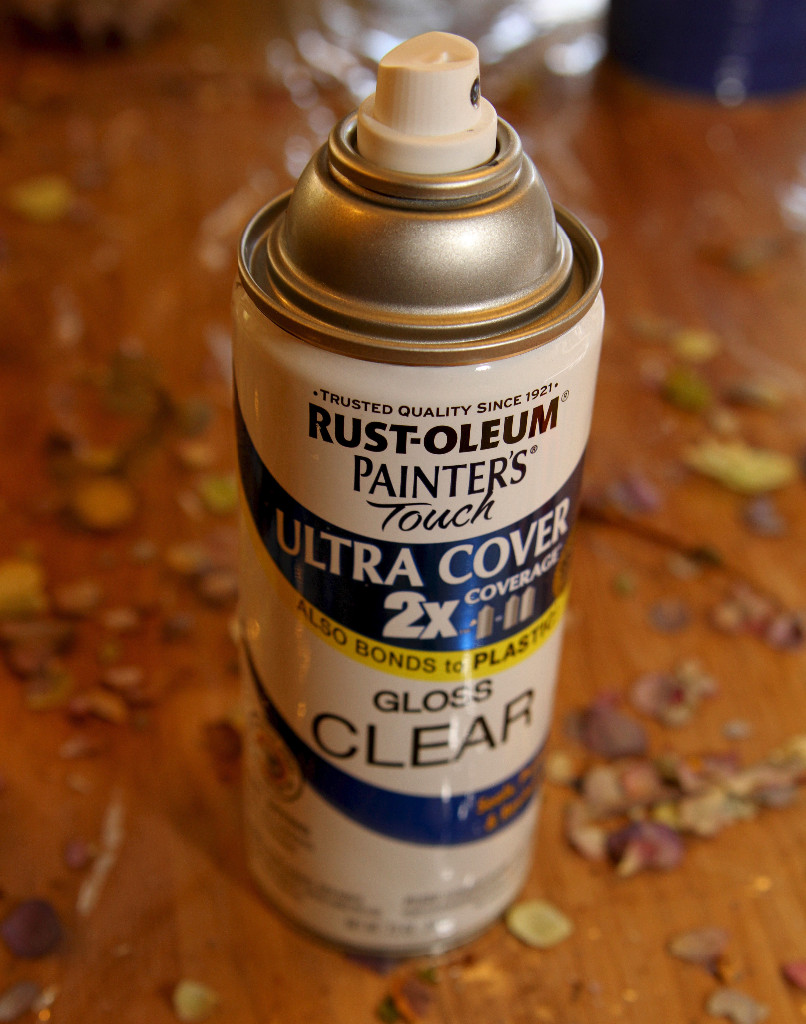

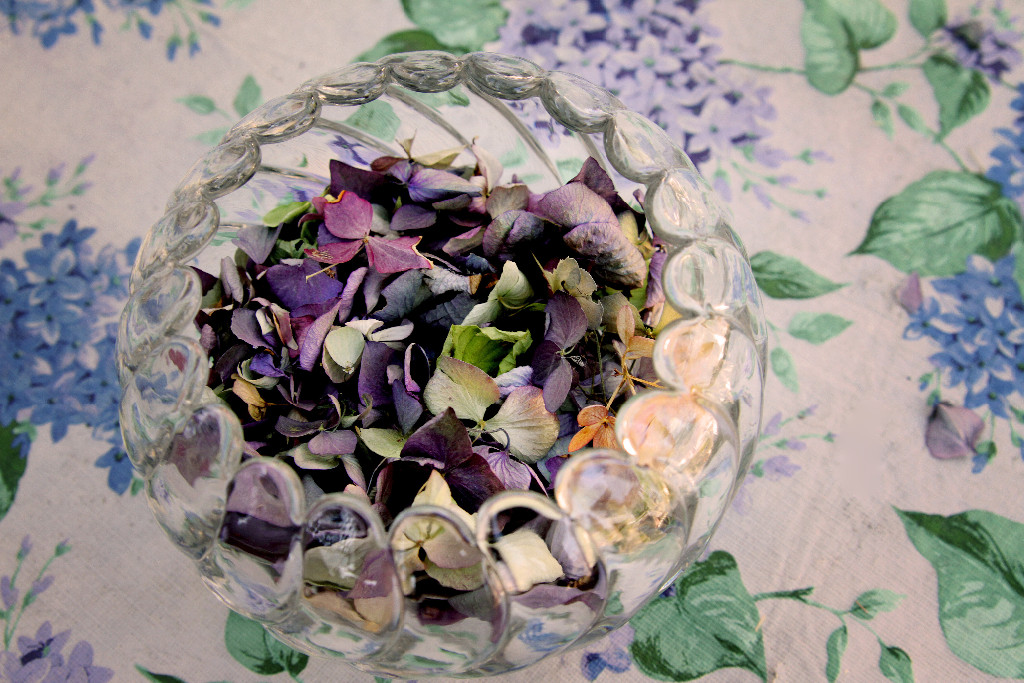
Don’t throw away all those colorful extra petals when you clean up! You can put them in a nice dish and spray on a little room spray or some essential oils and perfume a room with them!